

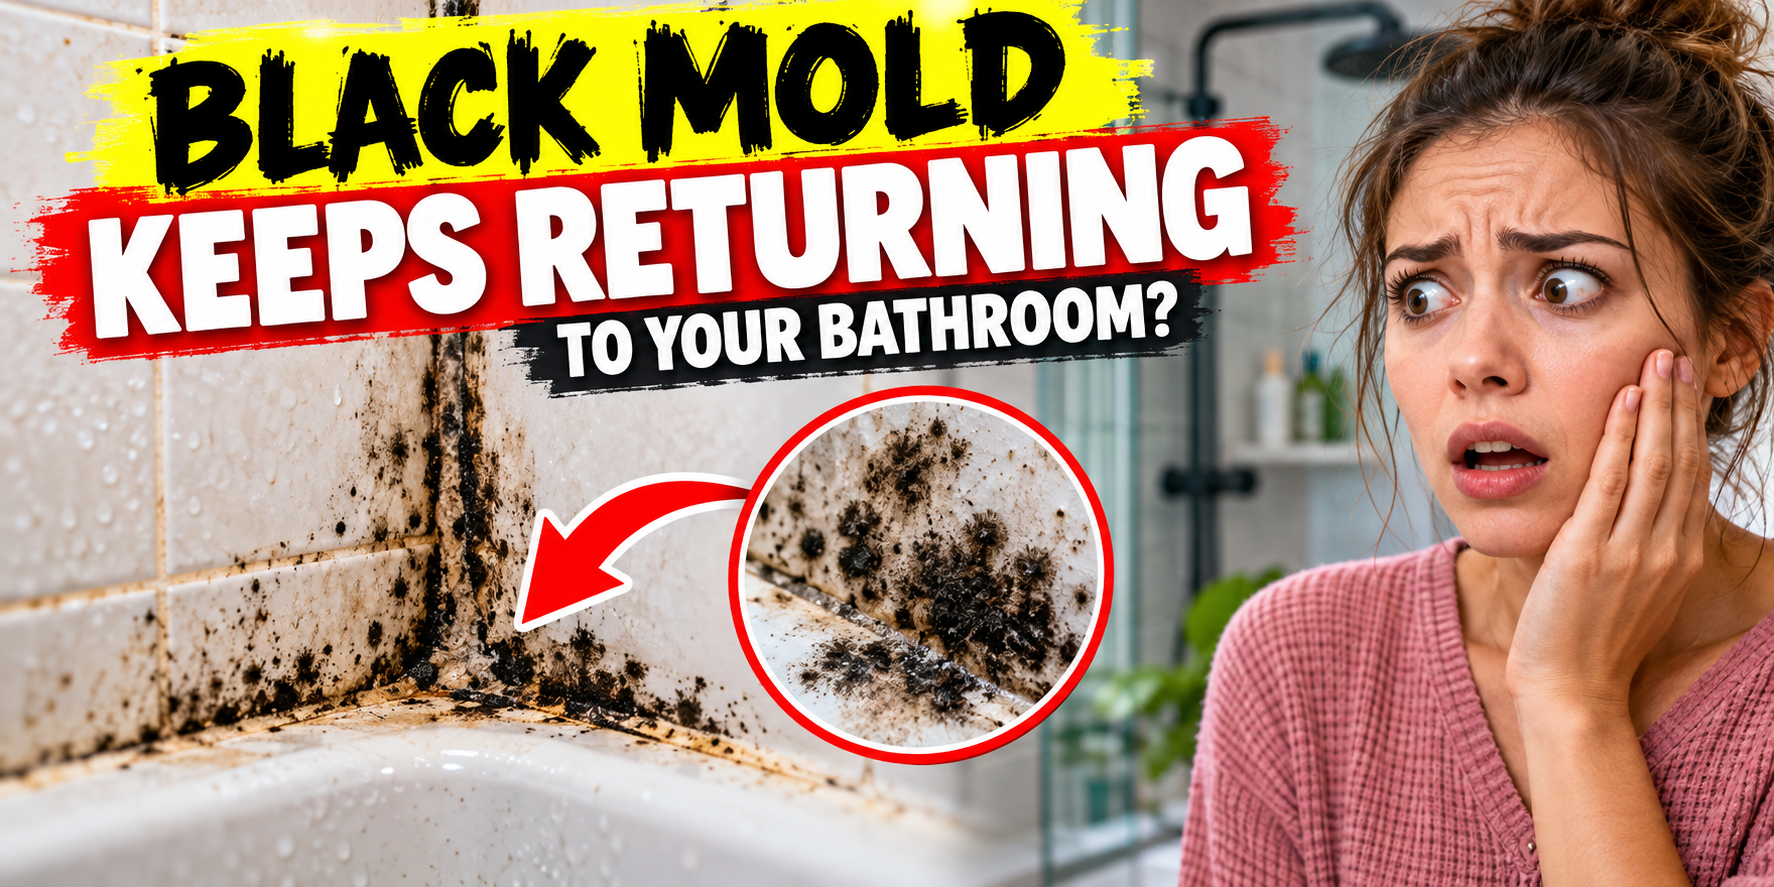
Mold thrives in damp environments.
Bathrooms provide ideal conditions because they regularly experience hot showers, steam, condensation, and splashing water.
Even after visible mold has been removed, new growth can develop if moisture remains.
Here are seven common reasons your bathroom mold keeps returning.
1. Your Bathroom Exhaust Fan Isn’t Removing Moisture
Your bathroom might look completely clean, but humid air can remain trapped inside long after a shower.
Without proper ventilation, moisture settles on ceilings, tile grout, shower curtains, and painted walls.
Common warning signs:
- Bathroom mirrors remain foggy long after showering.
- Water droplets collect on the ceiling.
- Towels take unusually long to dry.
- Mold repeatedly appears near ceiling corners.
- The bathroom smells musty even after cleaning.
The solution: Check that your bathroom exhaust fan works correctly and vents outdoors rather than into an attic or enclosed space.
Run it during showers and afterward until excess moisture has cleared.
If your bathroom fan is outdated or ineffective, a bathroom ventilation contractor may recommend a more suitable exhaust system.
2. Moisture Is Trapped Behind Shower Tiles
One of the more concerning causes of recurring mold is moisture collecting behind tiled walls.
Cracked grout, damaged caulking, or a failed waterproofing membrane can allow water into places you cannot see.
You may notice dark stains returning in the same location even after repeated cleaning.
Watch for:
- Loose or hollow-sounding tiles
- Cracked grout
- Soft or swollen surrounding walls
- Peeling paint
- Persistent musty odors
- Moisture stains outside the shower
The solution: Repair damaged seals and grout, and investigate signs of water entering behind the tiles.
If hidden water damage is suspected, a qualified bathroom waterproofing contractor or water damage restoration company can investigate without relying on surface cleaning alone.
3. Your Shower Caulk Is Holding Mold
Have you ever scrubbed black marks around your bathtub, only to discover they never completely disappear?
The problem may be mold embedded inside deteriorated silicone caulk.
Surface cleaning often cannot remove staining or growth that has penetrated compromised caulking.
The solution: Severely affected caulk may need to be carefully removed and replaced after the surrounding area has been cleaned, repaired if necessary, and dried completely.
Choose a bathroom-rated sealant and follow the manufacturer’s curing instructions.
Never seal over existing mold or trapped moisture.
4. A Hidden Plumbing Leak Is Feeding the Mold
Not all bathroom moisture comes from shower steam.
Small leaks behind sinks, toilets, bathtubs, and shower plumbing may keep building materials damp.
Because the leaking water is often hidden, homeowners may repeatedly clean visible mold without recognizing the underlying problem.
Warning signs include:
- Mold returning in one specific location
- Damp drywall or baseboards
- Unexpected water stains
- Bubbling paint
- Persistent musty smells
- Unexplained moisture around bathroom fixtures
The solution: Have suspicious plumbing leaks investigated and repaired.
Leak detection services and water damage restoration professionals can help locate concealed moisture and assess damaged materials.
5. Bathroom Humidity Stays Too High
A bathroom can remain damp without a visible plumbing leak.
When humidity stays elevated, condensation may repeatedly wet walls, mirrors, windows, and ceilings.
For moisture control, the U.S. Environmental Protection Agency recommends keeping indoor relative humidity below 60%, ideally between 30% and 50%.
The solution: Use a small digital hygrometer to monitor humidity. Improve ventilation, dry wet surfaces, and consider a dehumidifier where appropriate.
6. Mold Is Growing on Porous Materials
Hard, nonporous bathroom surfaces can often be cleaned successfully.
Porous materials are different.
Mold can penetrate damaged drywall, unfinished wood, ceiling tiles, or other absorbent materials.
Scrubbing the visible surface may not remove growth inside the material.
The solution: Mold-damaged porous materials may require professional evaluation and replacement, especially when they remain wet or the affected area is extensive.
7. You’re Cleaning the Mold Without Fixing the Moisture
This is perhaps the biggest mistake homeowners make.
Mold removal products can help clean affected surfaces, but they cannot repair a leaking pipe, improve poor ventilation, or fix failed shower waterproofing.
The golden rule: Remove the mold AND eliminate the moisture source.
Without both steps, the problem is likely to return.
Easy Bathroom Mold Cleaning Recipe for Small Surface Patches
This simple method is intended for a small mold patch on a hard, nonporous bathroom surface.
It is not suitable for extensive mold contamination, suspected hidden mold, contaminated water damage, or moldy structural materials.
Cleaning Recipe Details
Preparation time: 5–10 minutes
Cleaning time: Approximately 15–30 minutes for a small patch
Difficulty: Easy for accessible, minor surface mold
Best for: Glazed bathroom tiles, washable shower surfaces, and other hard, nonporous surfaces compatible with detergent cleaning.
What You’ll Need
- Mild dish detergent
- Clean water
- Soft-bristle cleaning brush or non-scratch sponge
- Microfiber cleaning cloth
- Protective rubber or nitrile gloves
- Non-vented protective goggles
- A properly fitted NIOSH-approved N95 respirator
- A clean bucket
Important safety note: People with asthma, chronic lung disease, mold allergies, or weakened immune systems should not perform mold cleanup themselves. Never mix bleach with vinegar, ammonia, or any other cleaner.
Step 1: Find and Address the Moisture Source
Before scrubbing, inspect the affected area.
Check nearby plumbing, shower seals, grout, and bathroom ventilation.
If there is an active leak, have it fixed. If wall materials feel soft or damaged, stop and arrange a professional assessment.
Cleaning is unlikely to provide a lasting solution if the surface continues getting wet.
Step 2: Protect Yourself and Ventilate the Bathroom
Put on your gloves, protective goggles, and N95 respirator.
Open a window or provide fresh air where practical.
Keep children and pets away from the cleaning area.
Step 3: Prepare a Simple Detergent Solution
Add a small amount of mild dish detergent to a bucket of water, following the product label where applicable.
You don’t need an elaborate homemade chemical mixture to clean a small patch of mold from a washable hard surface.
Step 4: Gently Scrub the Affected Surface
Apply the detergent solution with a sponge or soft brush.
Gently scrub the affected surface until visible mold is removed.
Avoid aggressive dry brushing, scraping, or pressure washing that could spread contamination or damage the surface.
If dark staining remains inside deteriorated caulk or damaged porous material, stop rather than repeatedly scrubbing.
Step 5: Wipe and Dry Thoroughly
Remove cleaning residue using a clean, damp cloth, as appropriate for the surface.
Then dry the area completely.
A dry microfiber cloth can help remove moisture from shower walls and tile surfaces.
Keep the area ventilated while it dries.
Step 6: Inspect and Monitor
After cleaning, examine the grout, caulking, walls, and surrounding fixtures.
If the dark spots return, especially in the same location, investigate persistent moisture rather than applying stronger chemicals repeatedly.
Cleaning result: A small, accessible patch of surface mold may be removed, but lasting prevention depends on controlling moisture.
How to Stop Bathroom Mold From Coming Back
Once the visible mold has been removed and the underlying cause has been addressed, a few consistent habits can make a significant difference.
Daily Bathroom Prevention Routine
After every shower:
- Run the bathroom exhaust fan while showering and afterward.
- Use a shower squeegee to remove water from walls and glass.
- Wipe persistent moisture around shower corners.
- Leave the shower area open enough to dry.
- Hang towels where air can circulate.
Weekly Bathroom Maintenance
Inspect shower grout and silicone seals for cracks or damage.
Clean commonly damp surfaces and check beneath sinks for new leaks.
Wash or dry shower curtains according to their care instructions.
Monthly Moisture Check
Examine ceiling corners, window frames, toilet bases, and bathroom cabinets.
Monitor the room’s humidity and make sure the exhaust fan remains effective.
Remember: Preventing mold starts with preventing persistent moisture.
