

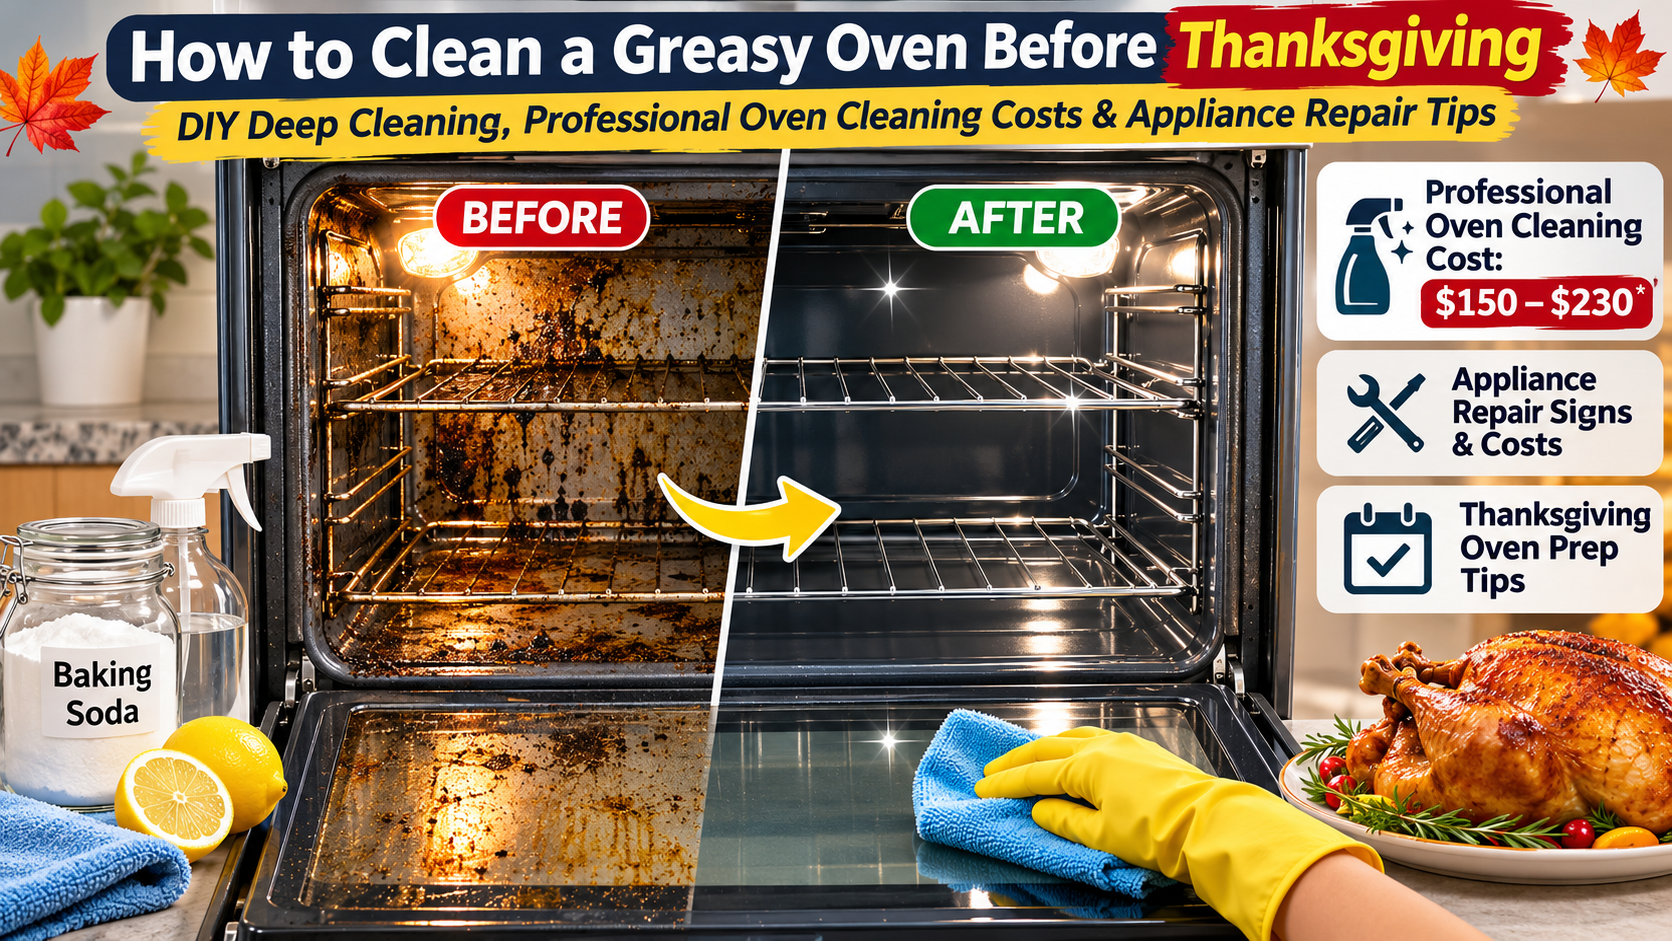
For many American households, Thanksgiving is one of the busiest cooking days of the year. From roasting turkey to baking casseroles and desserts, your oven may be working for hours.
Unfortunately, accumulated grease and old food residue can create unpleasant odors and smoke when the oven heats up.
Regular oven cleaning can help:
- Remove accumulated grease and burnt food.
- Reduce smoke caused by leftover cooking residue.
- Minimize unwanted cooking odors.
- Make oven glass easier to see through.
- Keep kitchen appliances looking well maintained.
- Help you recognize problems that cleaning alone cannot solve.
Helpful tip: Schedule your deep cleaning a few days before Thanksgiving rather than immediately before preparing dinner. That gives you time to remove any cleaning residue, allow everything to dry, and check whether the oven is operating normally.
What You’ll Need for DIY Oven Deep Cleaning
You don’t need a cabinet full of expensive products to begin cleaning a dirty oven.
For a basic cleaning, gather:
- Baking soda, if approved for your oven model.
- Warm water.
- Mild dish soap.
- Microfiber cleaning cloths.
- A non-scratch sponge.
- A plastic scraper.
- A small bowl.
- Protective cleaning gloves.
- Old towels to protect nearby surfaces.
Important: Always check your oven manufacturer’s cleaning instructions before applying any homemade paste or commercial cleaning product. Some self-cleaning ovens have special interior coatings that can be damaged by unsuitable cleaners.
Step 1: Turn Off the Oven and Let It Cool Completely
Safety should always come first when cleaning kitchen appliances.
Before beginning, switch off the oven, make sure all controls are off, and wait until the interior, racks, and glass are completely cool.
Remove any baking trays, cookware, and other removable accessories.
Place an old towel beneath the oven door to catch small amounts of dirt and cleaning residue.
Never apply cleaning products to hot oven surfaces unless the manufacturer’s instructions specifically require it.
Step 2: Remove and Soak Greasy Oven Racks
Oven racks frequently collect burnt food, grease, and baked-on spills.
Instead of immediately scrubbing the residue, try soaking them first.
How to clean oven racks
- Remove the racks from your cooled oven.
- Place them in a large sink or suitable container.
- Add warm water and mild dish soap.
- Let the racks soak for approximately two hours, or longer if necessary.
- Gently scrub with a suitable cleaning brush.
- Rinse thoroughly and dry completely.
For particularly stubborn buildup, a longer soak may help soften grease before scrubbing.
Check the manufacturer’s instructions for coated racks or specialty sliding racks, since some should not be soaked or scrubbed in the same way as standard metal racks.
Step 3: Remove Burnt-On Grease With a Simple Cleaning Paste
One popular DIY oven cleaning method uses baking soda and water to soften stubborn residue.
However, this method should only be used if your oven manufacturer permits it.
Homemade baking soda cleaning paste
Ingredients:
- ½ cup baking soda
- Approximately 3 tablespoons water
Instructions:
- Mix the baking soda and water into a spreadable paste.
- Apply a thin layer to approved, visibly dirty interior surfaces.
- Avoid heating elements, vents, fans, openings, and the oven door gasket.
- Allow the paste to sit for approximately 20–30 minutes.
- For stubborn stains, a longer treatment may help if permitted by the manufacturer’s directions.
- Gently scrub with a damp non-scratch sponge.
- Remove the loosened residue using a clean, damp cloth.
- Repeat wiping until no cleaning paste remains.
For heavily burnt deposits, use a plastic scraper carefully rather than sharp metal tools that could damage the interior finish.
Cleaning secret: Allowing an appropriate cleaner enough contact time can make stubborn residue easier to remove and reduce unnecessary scrubbing.
Step 4: How to Clean Greasy Oven Glass Without Scratching It
A cloudy oven door can make even a freshly cleaned kitchen look neglected.
Fortunately, many types of grease and food residue can be removed without using harsh abrasives.
Simple oven glass cleaning method
- Make sure the oven door is completely cool.
- Apply a small amount of mild dish soap mixed with warm water to a soft cloth.
- Gently wipe the dirty glass surface.
- For baked-on spots, hold a damp, soapy cloth against the glass for several minutes.
- Clean with a non-abrasive sponge or cloth.
- Remove soap residue with a clean, damp cloth.
- Dry with a microfiber towel.
If your oven manufacturer allows it, a small amount of baking soda paste may help loosen difficult spots.
Avoid metal scrapers unless your appliance manufacturer specifically approves their use.
Never force cleaning tools or liquids between the glass panels. If dirt has collected inside the oven door, consult the manufacturer or a qualified appliance service provider before attempting disassembly.
Step 5: Remove Stubborn Oven Odors
Even after visible grease is removed, some cooking odors may remain.
These odors can come from small food particles, hidden spills, or residue left behind after cooking.
What to do
- Inspect the cooled oven for remaining food particles.
- Wipe accessible interior surfaces with a suitable mild cleaning solution.
- Remove all cleaning residue with a damp cloth.
- Clean removable racks and trays separately.
- Allow the oven interior to dry completely.
- Follow the manufacturer’s instructions before returning the oven to normal cooking use.
If you notice a strong chemical smell, do not assume it is harmless. Stop using the oven until any cleaner residue has been removed and the cause is understood.
If you smell gas, leave the area and contact your gas utility or emergency service from a safe location.
Step 6: Should You Use Your Oven’s Self-Cleaning Feature?
Many modern ovens feature self-cleaning or steam-cleaning functions.
Although they sound similar, these cleaning systems work differently.
Self-cleaning ovens
Traditional self-cleaning cycles use extremely high temperatures to break down food residue.
This process may be useful for heavy buildup, but it requires preparation and careful adherence to the manufacturer’s instructions.
Before starting:
- Remove loose food and grease as directed.
- Remove accessories that are not approved for the cycle.
- Ensure the kitchen is properly ventilated.
- Follow all instructions in your oven’s manual.
- Keep children and pets away from the hot appliance.
Do not use commercial oven cleaners before a high-temperature self-cleaning cycle unless your manufacturer explicitly permits them.
Steam-cleaning ovens
Some ovens feature a lower-temperature steam-cleaning function designed for lighter spills.
This may be convenient for routine cleaning, although it is not necessarily effective against thick layers of burnt-on grease.
Which method is better?
For light buildup, gentle manual cleaning may be sufficient. For heavier residue, use the cleaning option recommended for your specific oven model.
Professional Oven Cleaning Cost in 2026: Is Hiring a Cleaner Worth It?
One of the biggest questions homeowners ask is whether DIY oven cleaning is worth the effort compared with professional cleaning services.
The answer depends on the condition of your oven, your available time, and the cost of services in your area.
According to Airtasker’s August 2026 U.S. oven-cleaning pricing data, completed oven-cleaning tasks in its sample ranged from approximately $150 to $230, with a median of around $190.
These figures reflect that platform’s reported tasks, not a guaranteed nationwide price. Local providers may charge more or less.
DIY Oven Cleaning vs. Professional Oven Cleaning
| Factor | DIY Oven Cleaning | Professional Oven Cleaning |
|---|---|---|
| Cleaning cost | Cost of supplies you need | Labor and service charges |
| Time commitment | Your own time and effort | Depends on the provider |
| Equipment | Basic approved cleaning supplies | Professional cleaning tools and products |
| Heavy grease | May require repeated cleaning | May be easier with specialist assistance |
| Best for | Routine maintenance and manageable buildup | Extensive buildup or difficult cleaning jobs |
When should you hire a professional oven cleaner?
Consider professional oven cleaning if:
- The oven has extensive, hardened grease buildup.
- Stubborn deposits remain after safe cleaning attempts.
- You cannot comfortably access certain areas.
- You have limited time before a major event.
- You want a detailed cleaning service without doing the work yourself.
Before hiring, ask whether the quoted price includes oven racks, door glass, and other removable parts.
It’s also worth checking whether the cleaner has experience with your specific oven model and finish.
Oven Repair Costs: When Cleaning Isn’t Enough
Sometimes, a dirty oven and a malfunctioning oven can produce similar symptoms.
However, cleaning will not repair faulty heating components, damaged seals, electronic controls, or other mechanical problems.
Signs you may need professional oven repair
1. Oven not heating properly
If your oven struggles to reach the selected temperature even after normal preheating, a heating or temperature-control issue could be responsible.
2. Oven heating unevenly
Food that regularly burns on one side while remaining undercooked elsewhere may indicate a temperature or airflow issue.
3. Repeated error codes
Persistent error messages can indicate a problem that requires diagnosis.
4. Damaged oven door gasket
A worn or damaged seal may affect heat retention and should be evaluated according to the manufacturer’s recommendations.
5. Persistent smoke after cleaning
If smoke continues after accessible food residue has been removed, stop using the oven until the cause has been identified.
Should you repair or replace your oven?
Before committing to an expensive appliance repair, consider:
- The age and condition of your oven.
- The estimated appliance repair cost.
- The availability of replacement parts.
- Whether the repair is covered by warranty.
- The price of a comparable replacement oven.
- Whether the problem affects safe operation.
A qualified appliance repair technician can help identify the issue and provide an estimate.
Money-saving tip: If your oven is still under warranty, check your coverage before authorizing paid repairs.
7 Common Oven Cleaning Mistakes to Avoid
Even a simple cleaning job can go wrong when unsuitable products or techniques are used.
1. Using harsh chemicals without checking the manual
Some cleaning products can damage specialty finishes and self-cleaning oven interiors.
2. Scrubbing oven glass with abrasive tools
Harsh scrubbing may leave permanent scratches on the glass or its coatings.
3. Cleaning the oven while it’s hot
Always allow the appliance to cool before performing manual cleaning.
4. Forgetting to remove cleaning residue
Leftover cleaning products may create odors or other problems during the next cooking session.
5. Soaking or scrubbing the oven door gasket
The gasket is important for sealing the oven. Cleaning or rubbing it may cause damage.
6. Mixing household cleaning chemicals
Never combine bleach with ammonia, acids, or other cleaners. Dangerous fumes can result.
7. Ignoring signs of appliance failure
If the oven repeatedly malfunctions, professional inspection may be more appropriate than additional cleaning.
How to Keep Your Oven Cleaner for Longer
Preventive maintenance can help reduce the amount of heavy-duty cleaning needed later.
Easy oven maintenance tips
Wipe up spills after cooling. Removing fresh residue before it becomes repeatedly baked on can make routine cleaning easier.
Use appropriately sized baking trays. Avoid overfilling pans that may overflow during cooking.
Check the oven regularly. Small spills are generally easier to address than thick, accumulated grease.
Clean removable racks separately. This helps keep grease and food residue from accumulating.
Follow a regular cleaning schedule. Depending on use, a more thorough cleaning every three to six months may be appropriate.
Schedule appliance servicing when necessary. Unusual noises, heating problems, and recurring error codes should not be ignored.
Frequently Asked Questions About Oven Cleaning
What is the best way to clean a very greasy oven?
Start with a completely cooled oven, remove the racks, and follow the manufacturer’s approved cleaning instructions. Mild dish soap and water are suitable for many surfaces, while some models also permit baking soda paste for stubborn residue.
How do I remove burnt-on grease from an oven?
Soften approved surfaces with a suitable cleaning solution, allow it time to work, and gently remove residue using a non-scratch sponge or plastic scraper. Repeat as needed rather than using excessive force.
How much does professional oven cleaning cost in the USA?
Costs vary by location, oven condition, and provider. Airtasker’s August 2026 U.S. data reported approximately $150–$230 for completed tasks in its sample, with a median of around $190. Obtain local quotes for an accurate estimate.
Can a dirty oven cause smoke?
Yes. Old food deposits and accumulated grease can smoke when heated. Persistent or unusual smoke can also signal another issue and should be investigated.
Is baking soda safe for cleaning ovens?
Baking soda is recommended for certain oven surfaces and models, but it should not automatically be assumed safe for every finish. Always check your appliance manufacturer’s instructions.
Should I call an appliance repair service for a dirty oven?
Not usually if the only issue is removable food residue or grease. However, persistent heating problems, damaged components, error codes, or unexplained smoke may require professional assistance.
Is professional oven cleaning worth the money?
It can be worthwhile for heavily soiled ovens, difficult cleaning jobs, or homeowners who prefer not to perform the cleaning themselves. For regular maintenance, approved DIY methods may be more economical.
How often should an oven be deep cleaned?
Cleaning frequency depends on usage. A general guideline is every three to six months, with more frequent spot cleaning when spills occur.
Final Thoughts: A Cleaner Oven Without Unnecessary Expenses
Preparing your kitchen for Thanksgiving doesn’t have to mean spending a fortune on cleaning supplies or professional services.
By using manufacturer-approved cleaning methods, regularly removing grease buildup, and taking care of your oven racks and glass, you can make routine oven maintenance more manageable.
And while professional oven cleaning services can be useful for difficult jobs, many everyday cleaning problems can be handled at home.
Just remember that cleaning and appliance repair are two different things. If your oven has a genuine mechanical or electrical problem, professional diagnosis is the safer choice.
The best time to clean your oven is before stubborn grease becomes a major problem — not when your Thanksgiving turkey is already waiting to go in!
