advertisement
Step-by-Step Instructions
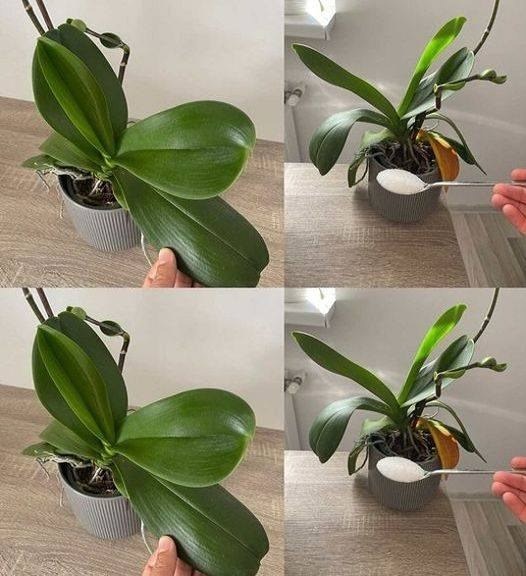
- Mix the Solution
Add 1 tablespoon of Epsom salt to 1 gallon of water. Stir well until the salt is completely dissolved. This dilution makes it safe and effective for even the most sensitive orchids. - Fill a Spray Bottle
Pour the solution into a clean spray bottle for easy application. Label it if you plan to store extra for future use. - Apply the Mist
- Lightly spray the leaves and roots of your orchid (avoid directly misting the flowers).
- Focus on the undersides of the leaves and the aerial roots — these are key nutrient absorption areas.
- You can also pour a small amount into the orchid’s potting media if it’s particularly dry.
- Frequency
Repeat once a month as part of your regular care routine. Overdoing it can cause salt buildup, so stick to a monthly misting schedule.
🌿 Orchid Care Tips for Best Results
- Water Wisely: Don’t overwater your orchid. Always let the potting media dry slightly between waterings.
- Light & Humidity: Orchids love bright, indirect light and humidity. Place near an east-facing window or use a humidity tray.
- Avoid Direct Sunlight: Misting Epsom salt and then exposing to hot sun can cause leaf burn.
- Prune After Blooms: Trim back old spikes to encourage new blooms to form.
- Clean Leaves Occasionally: Wipe dust off leaves with a damp cloth before spraying for better absorption.
🌺 Results You Can Expect
After a few applications, you may notice:
- Stronger, greener leaves
- More frequent blooms
- Longer-lasting flowers
- Healthier root systems
Many orchid lovers report seeing new growth and flower spikes within weeks of using this method regularly.
<Next --->
Post Views: 4,565
advertisement
